Showing posts with label Sesame Street Font. Show all posts

Saturday, November 5, 2011

Birds of a Feather Layout

Hello everyone!  Finally got around to finishing this page I've been working on of my two kiddos.  I happen to LOVE this picture of them that I took, (reminds me of a magazine photo) I think it shows beautifully the genuine love my kids have for each other (and I hope they always have this bond).  So I wanted to focus on that for this page.  I had this cute "Love Birds" paper that just worked with the photo.  I cut out one of the cute little birds and the saying "I love you bunches" and I also added a "bunch" of flowers up top.  For the title, I had a little trouble, because "love birds" doesn't really go with them, but I finally settled on "Birds of a Feather".  So here is the final product...take a look...


Here's a close up the title, a mixed font title (my favorite) using Sesame Street Font and Baby Steps. 


I'm entering this into the following challenges:
Fantabulous Cricut - For the Birds

Well I'm scrapping with some friends now, so I hope to have more to share later!
Thanks for stopping by!
Leinad

Sunday, December 19, 2010

Candy Cane Reindeer & Teacher Gift Frame

This past week we worked on another craft project for school.  Since Friday was the last day, we made candy cane reindeer for MJ to take to school and give to his friends and teachers.  It was a family project and even little Sofi got involved.  She would get two candy canes and hold them while I wrapped them with brown yarn.  My hubby would cut the yarn and MJ would create the face all on his own with glue dots.  He was so proud that he had such an important job!  Check out how cute...


But next I had to figure out how he was going to transport them to school.  I was searching in my scrap room when in runs MJ, "Mama, I found a bucket we can use" which cracked me up - he is so resourceful!  When I looked at it, though, it had an easter bunny, so it was time to scrap it.  I let MJ choose the paper to cover it with and then we added a snowman that he had made of foam and I cut a tag on the Cricut and wrote in the title.  Here it is...


For his teacher, I decided to create a 12x12 frame.  I had made one before for his previous teacher, so I used the same idea and tweaked it a little.  I wrote her a heartfelt message and glued it to the back of the frame as well.  Take a look at the finished product...


I'll have more "scrappy" things to share tomorrow.  Thanks for stopping by!

Sunday, December 5, 2010

Personalized Holiday Ornaments

Hello everyone!  Last year I learned how to create these beautiful glitter ornaments in just a few steps.  There are tons of tutorials online and I see this year quite a few people have made some similar.  I had made them the night before Christmas last year in hopes to maybe put outside some special christmas presents but it got late and I didn't get a chance.  When I opened up my box of ornaments this year, there they were, but this time I decided to personalize them and use them on my tree.  I let my kiddos pick their favorite color and then on my gypsy I welded their names in different fonts.  I used Don Juan for MJ, for Sofia I used Sesame Street Font and for the others I used Gypsy Font.  I then took out my vinyl to cut them out and add to each ornament.  So here are my ornaments and their cute recipients...


We finished trimming our tree tonight and it was so fun watching the kids get involved in this for the first time this year.  The holiday spirit is all around us and I absolutely love it!

One more quick project I wanted to share.  Last night was my sister and brother-in-law's 27th year anniversary and I made them a special card.  It is very simple and doesn't use the cricut, but I like the way it turned out and wanted to share...

Thanks for stopping by!  
Be sure to let me know you were here...leave a comment! :)

Monday, November 8, 2010

Fantabulous Cricut Challenge #35

I am so excited to share my first design team project for the Fantabulous Cricut Challenge Blog.  This week's challenge is a color/shape challenge, for this week it is green and a circle.   If you got here from the FCCB blog, welcome!   I hope you like what you see and I hope you choose to come back often and become a follower!

Now before I show you the pictures of my project, I have a story to share...

I teach middle school and although not customary for middle school teachers, I decorate for every holiday.  After I brought down all of my halloween stuff and put up my Thanksgiving decorations, my room looked a little empty.  So I went on the hunt for more Thanksgiving decorations.  I went to quite a few stores and they had NOTHING.  Why does Thanksgiving get skipped?  It is one of my very favorite holidays, but the stores seem to go from halloween straight to Christmas and Thanksgiving is completely overlooked.  Seriously, I think I saw a couple paper cups, some tablecloths and very little else.  It's sad, really.  The only usable thing I came across were these placemats which I found at Big Lots...


That made me think...wait a minute, I could hang these from the lights in my room and I could scrap the green circle ones.  So I did!  It fit in perfectly with this week's challenge and as a solution to my Thanksgiving decor dilemma.  I used Celebrate with Flourish (one of the Lites and an awesome cartridge, btw!), which I was finally able to link to my gypsy (I've been trying to do this since I got this cartridge in the summer and was only now able to with the latest update) for all the images.  The font is from one of my go-to font cartridges - Sesame Street Font.  These are all three circles...


I chose to create a large image on each with words of the season around each image.  I wanted to make all three different.  To expedite the process of assembly, I put all the letters through my xyron and the images were all popped.  A word of advice for centering titles, start with the middle letter and then work your way to the beginning and end of the word.  
Now some close ups of each...


I did a lot of embossing and used a lot of stickles on this one...


This is what they look like hanging up in my classroom...


Now my classroom decor seems complete :)
I hope you've enjoyed my project and I hope you join in on the fun this week at FCCB!
I'd love to know you stopped by my blog... be sure to leave a comment!
Thanks for stopping by! 

Sunday, September 26, 2010

"So Cute" Layouts for Boys & Girls

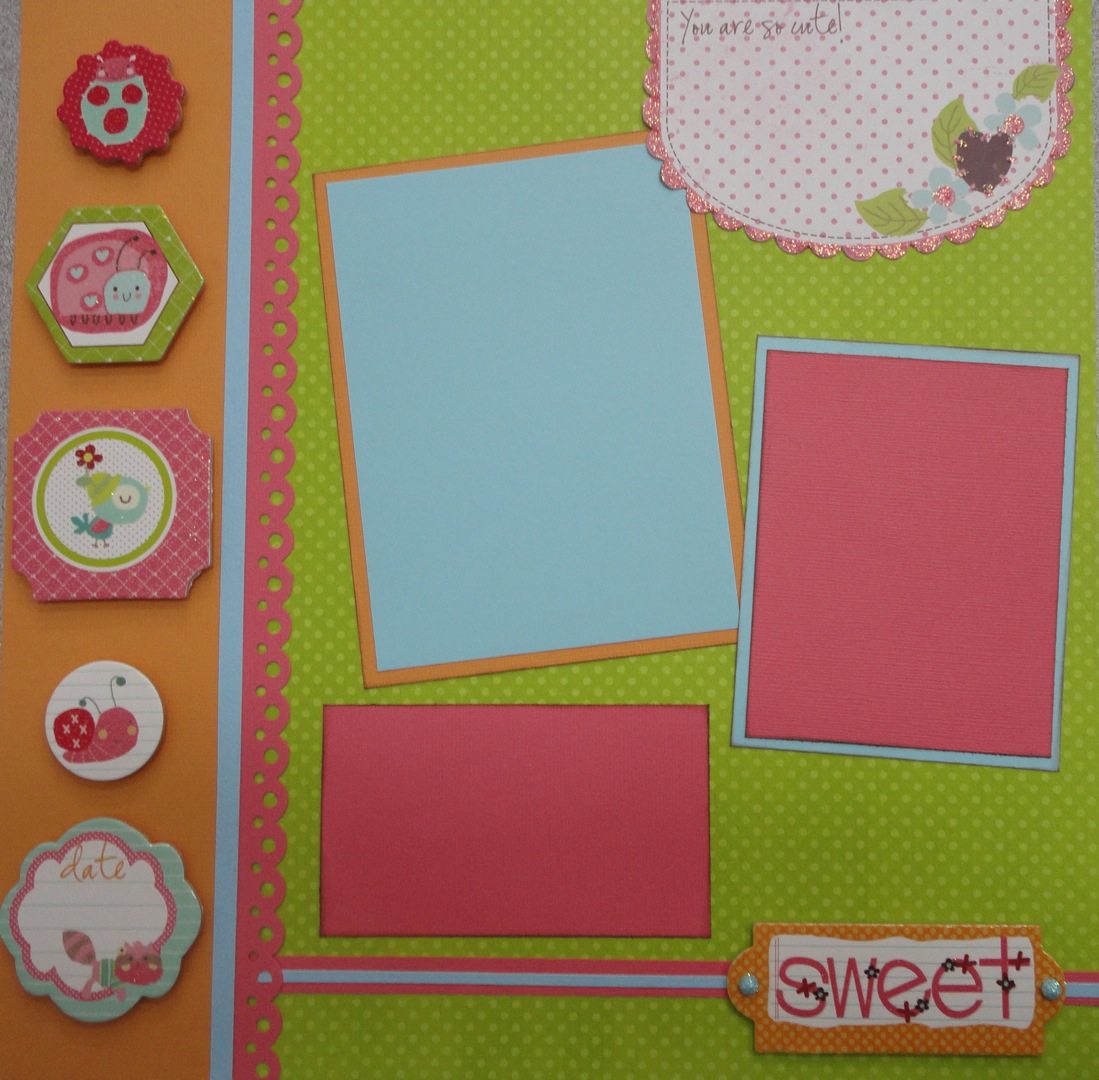
I was able to do lots of scrapping this weekend with my friends at my Paper Tree House for the "Save the Tatas" weekend crop.  I wanted to share some layouts I designed using the new "So Cute" line from Prima.    These papers and chipboard embellishments are absolutely adorable and the paper is double sided, one side for girls, one side for boys, so I decided to create layouts for both.  
You can get everything you need to create these layouts at My Paper Tree House.
This is going to be a very picture heavy post, so enjoy!
Girl - Double page layout

Left Side


Right Side


Girl "Sweet Bug" One page layout


Boy "Beary Cute" Double Page Layout
Left page


Right page


Outdoor Boy One Page Layout


I hope you've had a nice weekend.  Keep checking back for more layouts this week!

Related Posts with Thumbnails